Task 1 Introduction
The room invites you to a challenge where you will investigate a series of traffic data and stop malicious activity under two different scenarios. Let’s start working with Snort to analyse live and captured traffic.
Before joining this room, we suggest completing the ‘Snort’ room.
Note: There are two VMs attached to this challenge. Each task has dedicated VMs. You don’t need SSH or RDP, the room provides a “Screen Split” feature.

Opening the VM
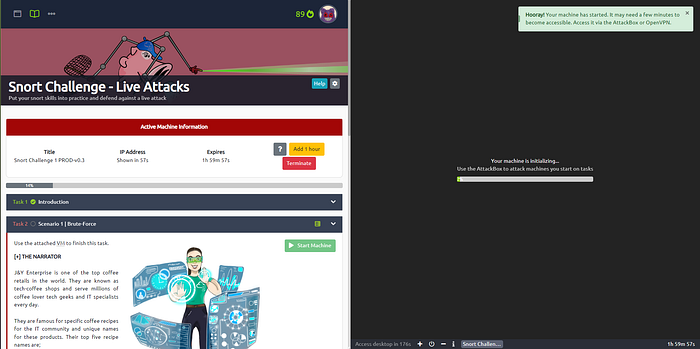
Click the green Start Machine button in the top of each Task.
The screen will split in half, with the VM on the right and the Tasks on the left. If the screen didn’t split in half go to the next step, if it did split in half skip the next step.
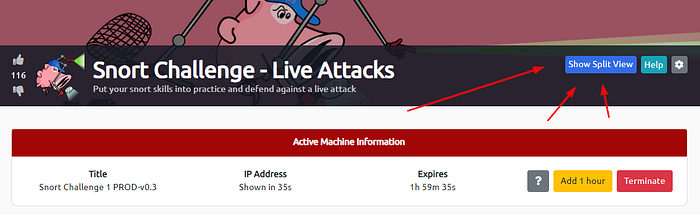
Scroll to the top of the page, you will see a blue bottom labeled Show Split View, click this button to split the page in half.
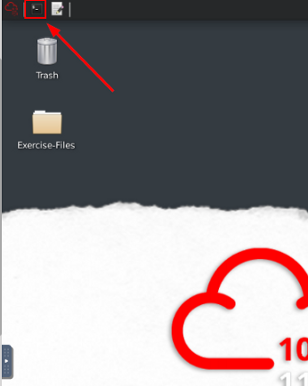
Now that we have our screen split and we have our VM, we need a terminal to work in. At the top left of the VM is a terminal icon, it is hard to see, click this icon to open a terminal window.
Once you have your terminal window, you are good to go with the tasks ahead.
Task 2 Scenario 1 | Brute-Force
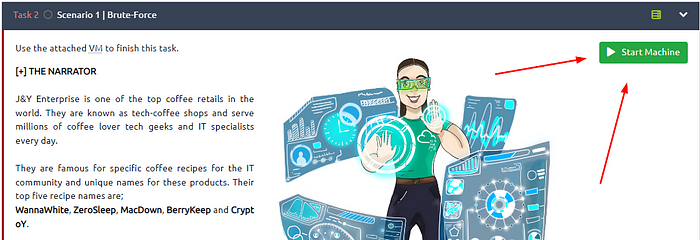
Use the attached VM to finish this task.

[+] THE NARRATOR
J&Y Enterprise is one of the top coffee retails in the world. They are known as tech-coffee shops and serve millions of coffee lover tech geeks and IT specialists every day.
They are famous for specific coffee recipes for the IT community and unique names for these products. Their top five recipe names are;
WannaWhite, ZeroSleep, MacDown, BerryKeep and CryptoY.
J&Y’s latest recipe, “Shot4J”, attracted great attention at the global coffee festival. J&Y officials promised that the product will hit the stores in the coming months.
The super-secret of this recipe is hidden in a digital safe. Attackers are after this recipe, and J&Y enterprises are having difficulties protecting their digital assets.
Last week, they received multiple attacks and decided to work with you to help them improve their security level and protect their recipe secrets.
This is your assistant J.A.V.A. (Just Another Virtual Assistant). She is an AI-driven virtual assistant and will help you notice possible anomalies. Hey, wait, something is happening…
[+] J.A.V.A.
Welcome, sir. I am sorry for the interruption. It is an emergency. Somebody is knocking on the door!
[+] YOU
Knocking on the door? What do you mean by “knocking on the door”?
[+] J.A.V.A.
We have a brute-force attack, sir.
[+] THE NARRATOR
This is not a comic book! Would you mind going and checking what’s going on! Please…
[+] J.A.V.A.
Sir, you need to observe the traffic with Snort and identify the anomaly first. Then you can create a rule to stop the brute-force attack. GOOD LUCK!
Answer the questions below
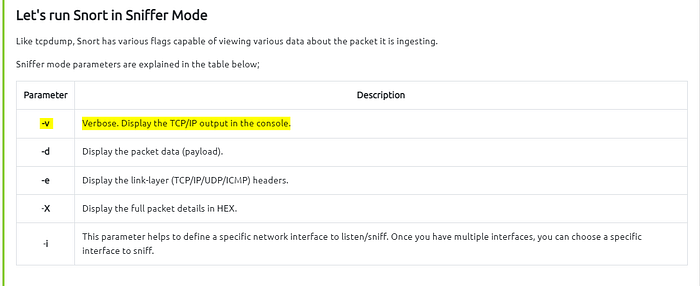
First of all, start Snort in sniffer mode and try to figure out the attack source, service and port.
If we remember back from the Snort room how to run in sniffer mode, we want to use the -v for Verbose.
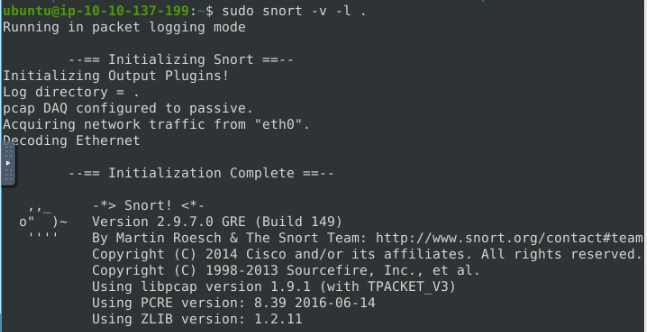
So knowing what tack we want to use, let’s start to run Snort in sniffer mode. We will use the command sudo snort -v -l ., we use the -l to log and the . to log it in our current directory.
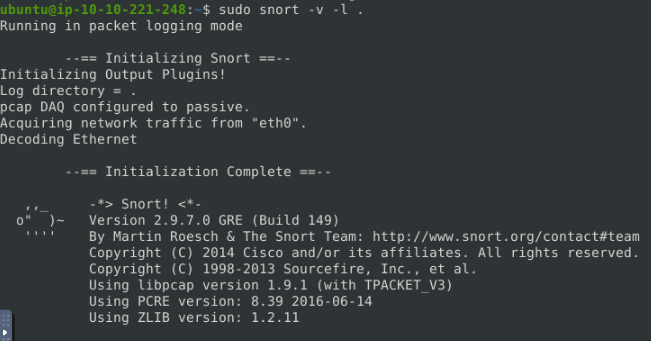
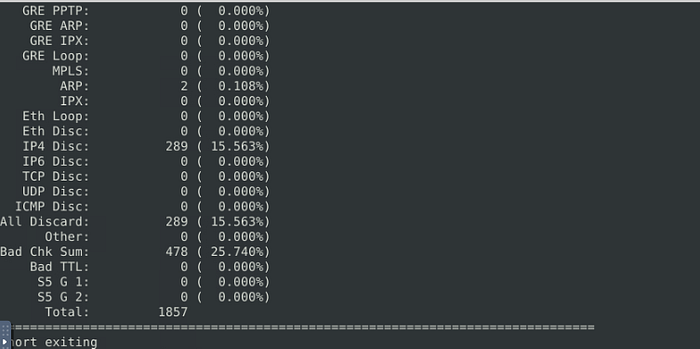
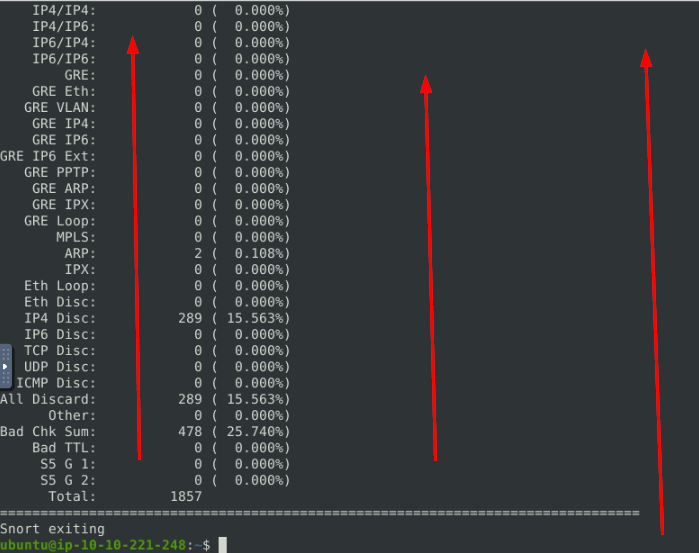
Let that run for 10–15 seconds, then press the keyboard ctrl + c to stop Snort. Let snort finish, when it is done, the terminal will be waiting to accept another command.
To be able to make our rule we first need to look at the log file to see what we have captured. Since we know that Snort names it’s log files snort.log{set of numbers}, we can use Tab complete. With Tab complete, you only have to press Tab after starting to type, and if it only has one entry that matches, it will auto complete it. Using Tab complete, use the command sudo snort -r snort.log.1672414629 -X, then press enter to run.

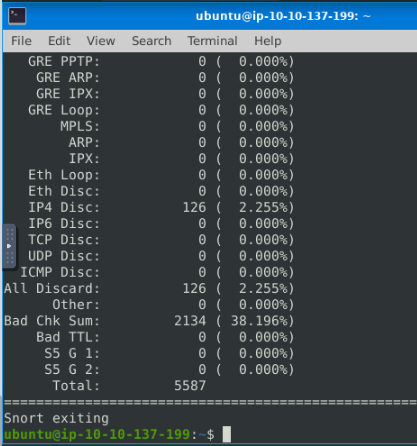
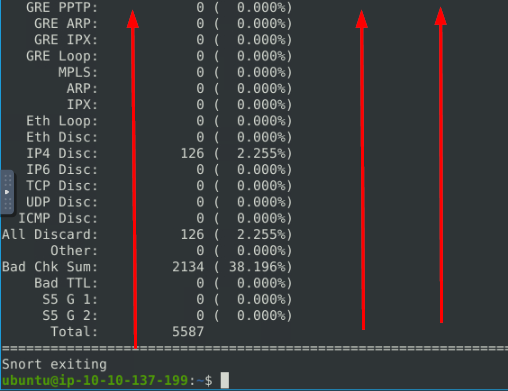
After Snort is done reading the file, and outputting it to the screen. We need to scroll up to the last packet.
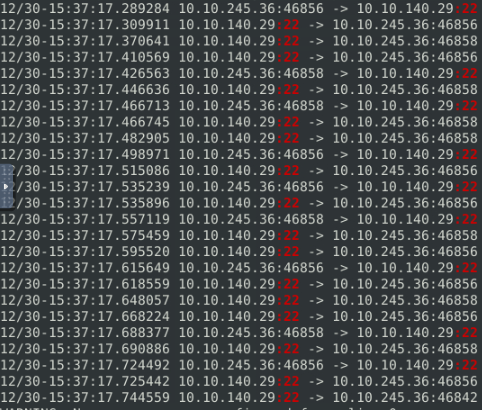
After inspecting the packets, I kept seeing port 22 coming up. Not just in the Destination side either but in the source.
So using grep, I ran the same command and added grep to the end of it. That command being sudo snort -r snort.log.1672414629 -X | grep :22, see way I can see if it is a thread I should follow.
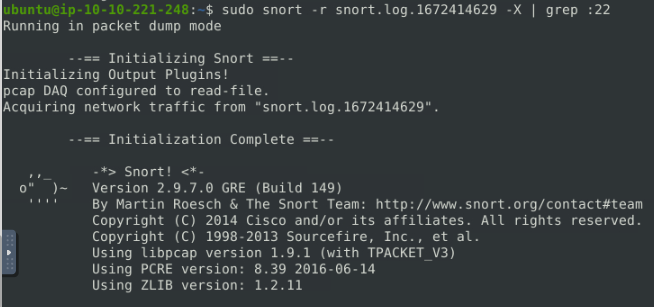
Sure enough, it does come up quite a lot.
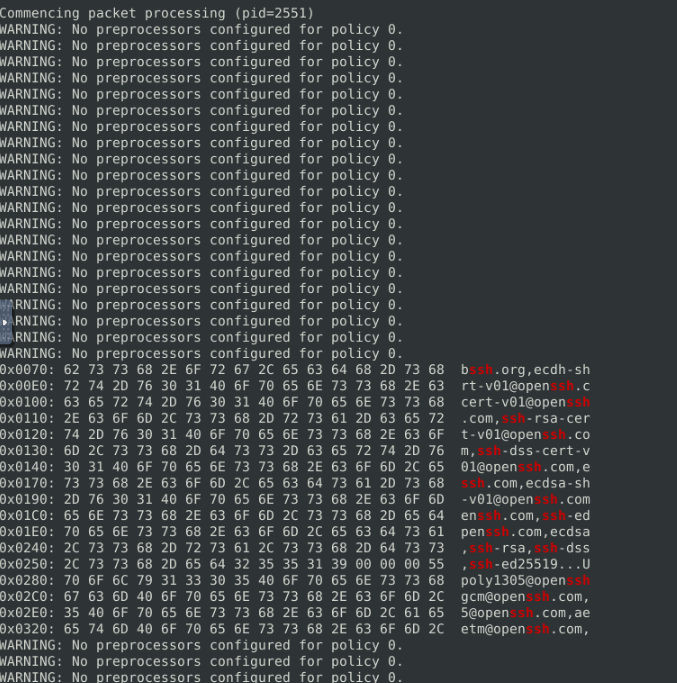
So, knowing that SSH runs on port 22, I then used grep to search for ssh in the packets with the command sudo snort -r snort.log.1672414629 -X | grep "ssh".

When Snort is done, scroll up to the top of the output. I am sure you will see as you scroll up that we have found some ssh results. When you make it to the top, start to scroll down through, and not too far down you will find a hit.
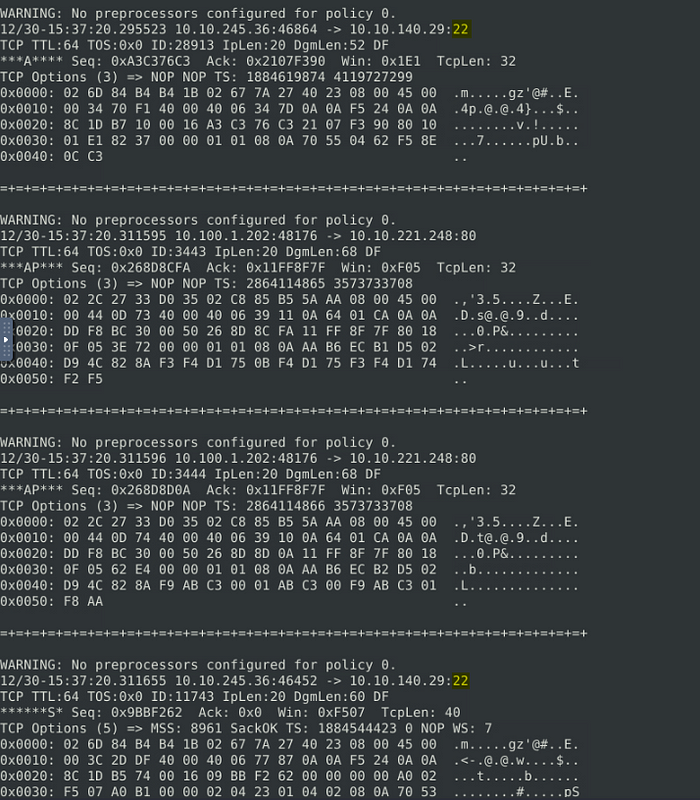
So let’s narrow it down and take a look at that packet. To do this I used the command sudo snort -r snort.log.1672414629 -X -n 30, this will only output the first 30 packets to the terminal.
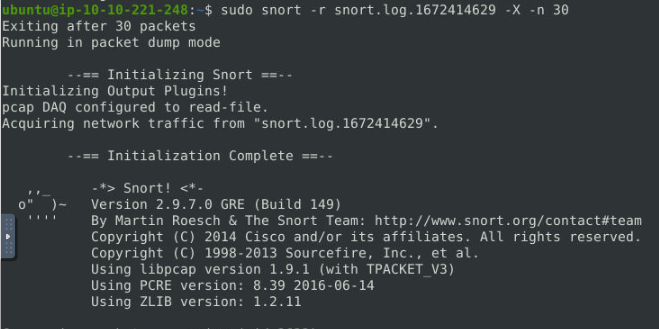
When Snort is done, scroll up, you should spot the packet right away. It stands out amongst the others.

Looking at the top of the packet, we can see the source is matches what we saw before. So we should have enough information to write our rule.

Then, write an IPS rule and run Snort in IPS mode to stop the brute-force attack. Once you stop the attack properly, you will have the flag on the desktop!
Here are a few points to remember:
- Create the rule and test it with “-A console” mode.
- Use “-A full” mode and the default log path to stop the attack.
- Write the correct rule and run the Snort in IPS “-A full” mode.
- Block the traffic at least for a minute and then the flag file will appear on your desktop.
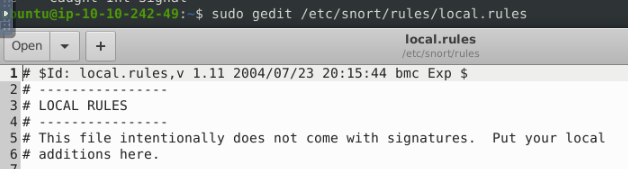
First, we need to open the local.rules file in a text editor. Using the command sudo gedit /etc/snort/rules/local.rules, and press enter
Looking back at Task 9 of the Snort room, and we can see what Action must be taken.

Time to write our rule, to start it off we won’t be writing alert as we usually have. No, this time we will write drop. Then from the packet we know it’s a tcpprotocol. The next section is source IP address, we will put any 22, as we want to specify the port. Followed by the <> directional arrows. For the destination IP address, we are going to put any any. The reasoning behind using any on both parts is what if the attacker changes IP addresses, you are now ahead of the game. Now the second half of the rule, for the msg: section I put "SSH Connection attempted". To finish off the rule since we only have one, the sid: should be 100001, and the rev: will stay at 1. It should look as such so far drop tcp any 22 <> any any (msg:"SSH Connection attempted"; sid:100001; rev:1;).

Save (ctrl + s) and X out of the text editor window, and your back in the terminal.

Stop the attack and get the flag (which will appear on your Desktop)
Almost time to run our rule against the live traffic, but first we need to know how we are to run the Snort. If we look back at Task 7 of the Snort room, we can see how we need to run the rule.
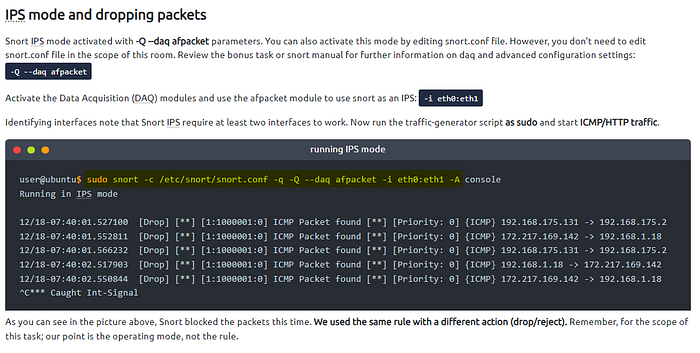
After seeing the command we have to use to run the rule, the only change that needs to be made is instead of console on the end we put full. so the command it sudo snort -c /ect/snort/snort.conf -q -Q --daq afpacket -i eth0:eth1 -A full, the press enter and let it run till you see the flag.txt file pop-up on the desktop.

Once the flag.txt file appears, you can stop snort with ctrl +c. Then double-click on the flag.txt icon to open it.
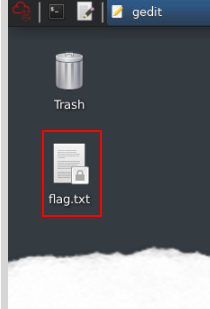
After opening it you will be greeted with the flag.
Highlight and copy (ctrl + c) the flag. Then click the tab in the middle of the VM.
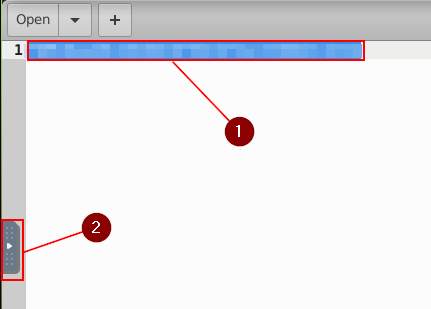
Click the Clipboard icon on the pop-out bar.

The Clipboard window will pop-up, highlight and copy (ctrl + c) the flag. It will now be on your PC’s clipboard. Paste the flag in the answer TryHackMe answer field, then click submit.

Answer: THM{81b7fef657f8aaa6e4e200d616738254}
What is the name of the service under attack?
This can be found back from when we searched for what we know runs on port 22. When you figure it out, then type the answer in the TryHackMe answer field, then click submit.

Answer: SSH
What is the used protocol/port in the attack?
For the protocol, if you look at the Packet that we got a lot of our information from, in the last line on the left you can find the answer. For the port, at the end of the second line is the port number, it is also the same port that the above service runs on. Once you find it\figure it out type the answer into the TryHackMe answer field, then click submit.

Answer: TCP/22
Task 3 Scenario 2 | Reverse-Shell
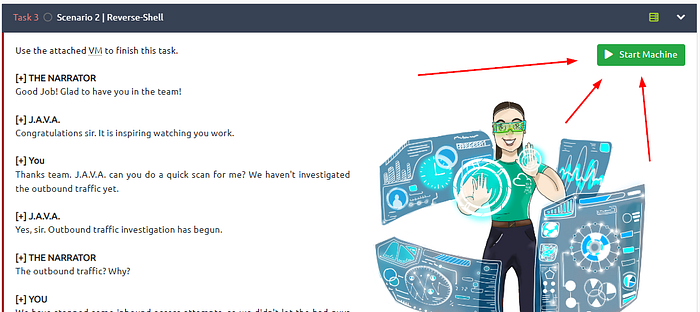
Use the attached VM to finish this task.

[+] THE NARRATOR
Good Job! Glad to have you in the team!
[+] J.A.V.A.
Congratulations sir. It is inspiring watching you work.
[+] You
Thanks team. J.A.V.A. can you do a quick scan for me? We haven’t investigated the outbound traffic yet.
[+] J.A.V.A.
Yes, sir. Outbound traffic investigation has begun.
[+] THE NARRATOR
The outbound traffic? Why?
[+] YOU
We have stopped some inbound access attempts, so we didn’t let the bad guys get in. How about the bad guys who are already inside? Also, no need to mention the insider risks, huh? The dwell time is still around 1–3 months, and I am quite new here, so it is worth checking the outgoing traffic as well.
[+] J.A.V.A.
Sir, persistent outbound traffic is detected. Possibly a reverse shell…
[+] YOU
You got it!
[+] J.A.V.A.
Sir, you need to observe the traffic with Snort and identify the anomaly first. Then you can create a rule to stop the reverse shell. GOOD LUCK!
Answer the questions below
First of all, start Snort in sniffer mode and try to figure out the attack source, service and port.
If we remember back from the Snort room how to run in sniffer mode, we want to use the -v for Verbose.
So knowing what tack we want to use, let’s start to run Snort in sniffer mode. We will use the command sudo snort -v -l ., we use the -l to log and the . to log it in our current directory.
Let that run for 10–15 seconds, then press the keyboard ctrl + c to stop Snort. Let snort finish, when it is done, the terminal will be waiting to accept another command.
To be able to make our rule we first need to look at the log file to see what we have captured. Since we know that Snort names it’s log files snort.log{set of numbers}, we can use Tab complete. With Tab complete, you only have to press Tab after starting to type, and if it only has one entry that matches, it will auto complete it. Using Tab complete, use the command sudo snort -r snort.log.1672697486 -X, then press enter to run.

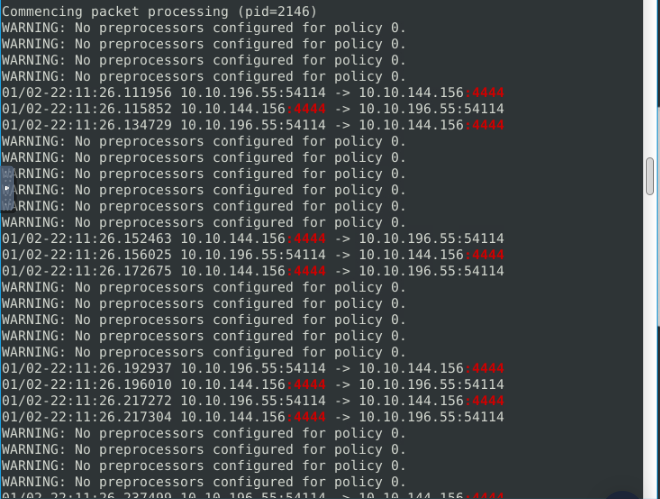
After Snort is done reading the file, and outputting it to the screen. We need to scroll up to the last packet.
As we can see from inspecting some of the packets, the port in the source and destination of some of the packets is 4444. This could indcate the possibilty of a reverse shell.

Time to use grep to search the log file for port 4444, and see if we get any results. The command we are going to use is sudo snort -r snort.log.1672697486 -X | grep ":4444", then press enter to run Snort.

Look at the results shows us that we are looking in the right direction.
Let’s run snort again only getting 10 results back from the 5,000+ we have. To do this we use the command sudo snort -r snort.log.1672697486 -X -n 10, press enter to run Snort.

We should have enough information now to write a rule for snort!
Then, write an IPS rule and run Snort in IPS mode to stop the brute-force attack. Once you stop the attack properly, you will have the flag on the desktop!
Here are a few points to remember:
- Create the rule and test it with “-A console” mode.
- Use “-A full” mode and the default log path to stop the attack.
- Write the correct rule and run the Snort in IPS “-A full” mode.
- Block the traffic at least for a minute and then the flag file will appear on your desktop.
First, we need to open the local.rules file in a text editor. Using the command sudo gedit /etc/snort/rules/local.rules, and press enter
Looking back at Task 9 of the Snort room, and we can see what Action must be taken.
Time to write our rule, to start it off we won’t be writing alert as we usually have. No, this time we will write drop. Then from the packet we know it’s a tcpprotocol. The next section is source IP address, we will put any 4444, as we want to specify the port. Followed by the <> directional arrows. For the destination IP address, we are going to put any any. The reasoning behind using any on both parts is what if the attacker changes IP addresses, you are now ahead of the game. Now the second half of the rule, for the msg: section I put "Reverse Shell Detected". To finish off the rule since we only have one, the sid: should be 100001, and the rev: will stay at 1. It should look as such so far drop tcp any 4444 <> any any (msg:"Reverse Shell Detected"; sid:100001; rev:1;).

Save (ctrl + s) and X out of the text editor window, and your back in the terminal.

Stop the attack and get the flag (which will appear on your Desktop)
Almost time to run our rule against the live traffic, but first we need to know how we are to run the Snort. If we look back at Task 7 of the Snort room, we can see how we need to run the rule.
After seeing the command we have to use to run the rule, the only change that needs to be made is instead of console on the end we put full. so the command it sudo snort -c /ect/snort/snort.conf -q -Q --daq afpacket -i eth0:eth1 -A full, the press enter and let it run till you see the flag.txt file pop-up on the desktop.
Once the flag.txt file appears, you can stop snort with ctrl +c. Then double-click on the flag.txt icon to open it.
After opening it you will be greeted with the flag.
Highlight and copy (ctrl + c) the flag. Then click the tab in the middle of the VM.
Click the Clipboard icon on the pop-out bar.
The Clipboard window will pop-up, highlight and copy (ctrl + c) the flag. It will now be on your PC’s clipboard. Paste the flag in the answer TryHackMe answer field, then click submit.
Answer: THM{0ead8c494861079b1b74ec2380d2cd24}
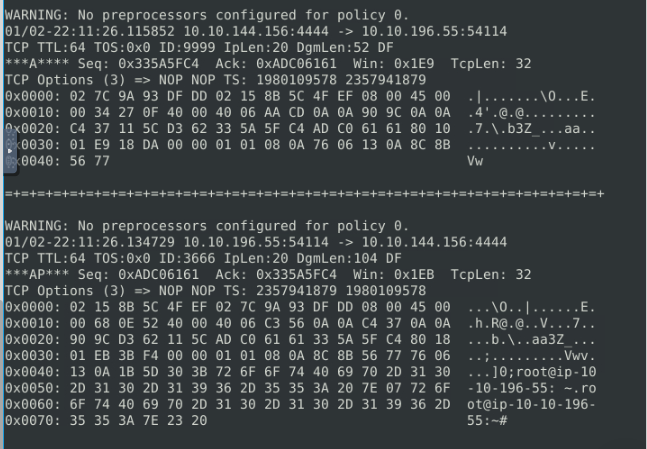
What is the used protocol/port in the attack?
For the protocol, if you look at the Packet that we got a lot of our information from, in the last line on the left you can find the answer. For the port, at the end of the first IP address you will see the port number. Once you find it\figure it out type the answer into the TryHackMe answer field, then click submit.

Answer: TCP/4444
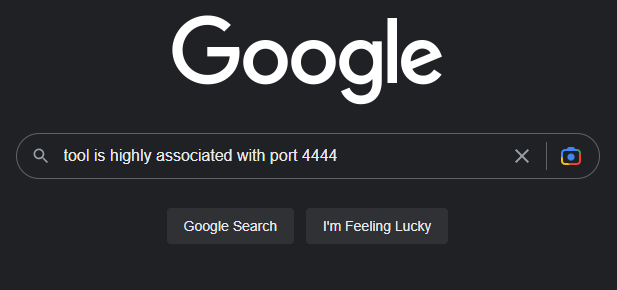
Which tool is highly associated with this specific port number?
If you aren’t sure what tool this is, head over to our friend Google. Using part of the question in the search, search for tool is highly associated with port 4444.
The first result shows use what tool is closely associated with port 4444. Once you find it, highlight copy (ctrl + c) and paste (ctrl + v) or type, the answer into the TryHackMe answer field, then click submit.
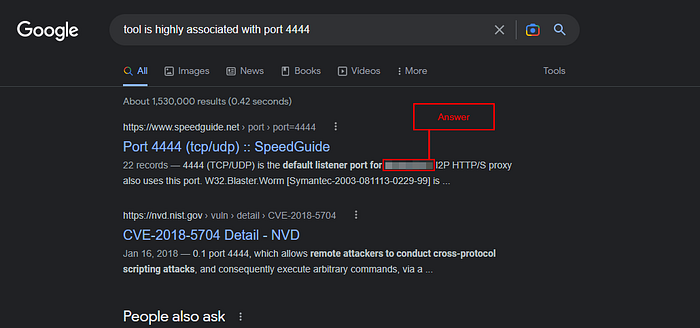
Answer: Metasploit
🎉🎉🎉CONGRATS!!!! You have completed the Snort Challenge — Live Attacks Room!!! 🎉🎉🎉
Leave a Reply