
Introduction
Nikto is a vulnerability scanner part of Kali Linux and is widely used to find vulnerabilities in Web servers. It performs various tasks, including:
- Scan for the existence of more than one index file.
- Verify the installed applications and Webserver.
- Verify the Web server configuration.
- Verify the outdated files, such as plugins.
In this write-up, I will demonstrate how Nikto is used for vulnerability scanning.
⚠️ Disclaimer:
All information, techniques, and tools described in this write-up are for educational purposes only. Use anything in this write-up at your discretion; I cannot be held responsible for any damages caused to any systems or yourselves legally. Using all tools and techniques described in this write-up for attacking individuals or organizations without their prior consent is highly illegal. You must obey all applicable local, state, and federal laws. I assume and accept no liability and will not be responsible for any misuse or damage caused by using the information herein.
Use Nikto for Web Application Vulnerability Scanning
Type the following in the Terminal window:sudo nikto -host intranet
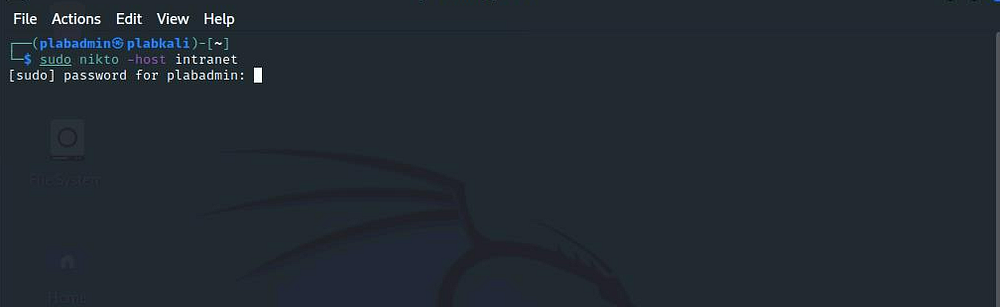
The vulnerability scanning process starts.
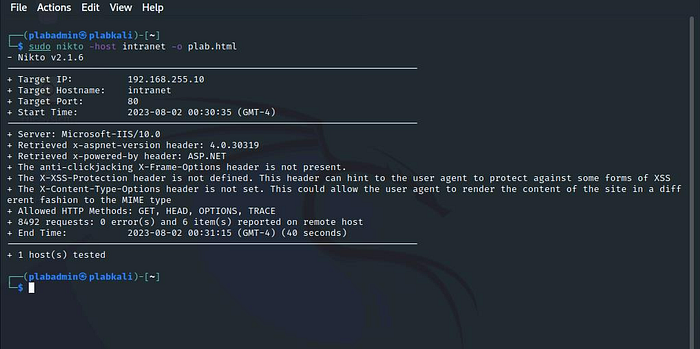
Notice the listed details of the scanned target — Target IP, Target Hostname, Target Port, and Start Time.
Depending on the number of vulnerabilities, the process may run for a few minutes.
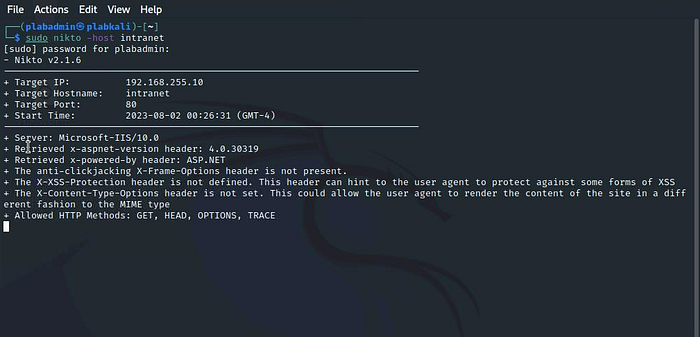
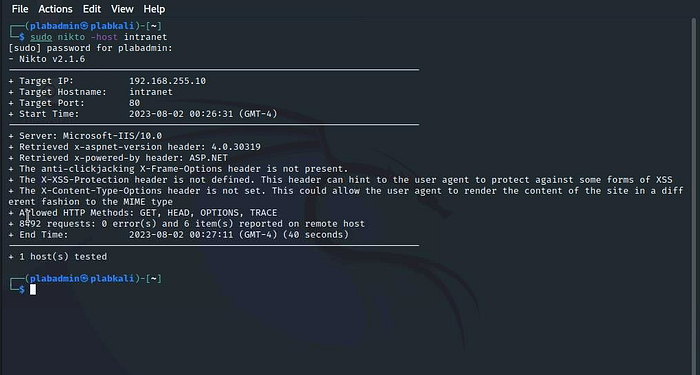
The scan will take a couple of minutes to complete. The output gives a detailed list of vulnerabilities.
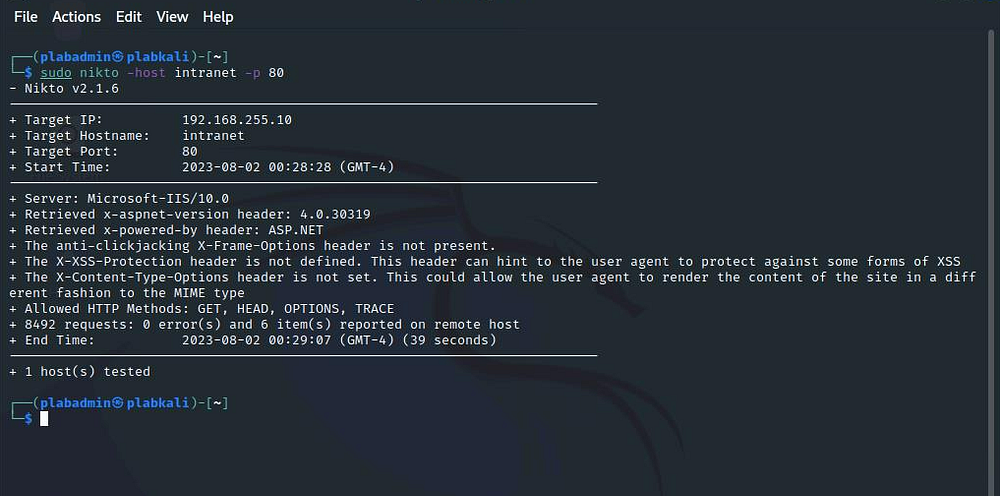
You can also specify the port number on which the Website or Web application should be scanned. To do this, type the following command:sudo nikto -host intranet -p 80
Notice that the process and output are similar to the previous command.
To scan a website for vulnerabilities and save the output to an HTML file, type the following command:
Instead of the -host parameter, you can also use the -h parameter. Both parameters provide the same result.
sudo nikto -host intranet -o plab.html
Let the vulnerability scanning process complete.
Then, type the following command:firefox plab.html
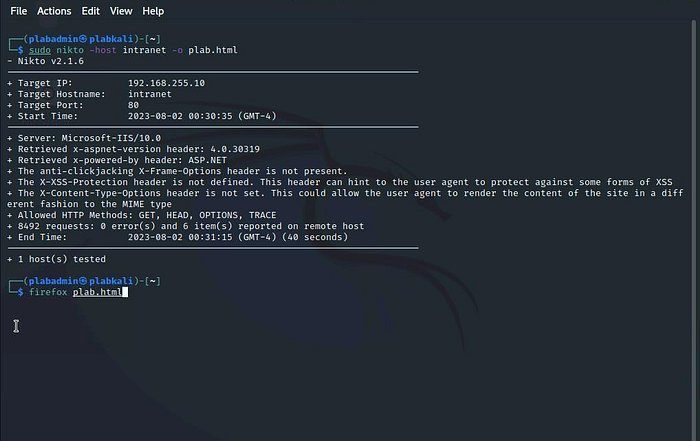
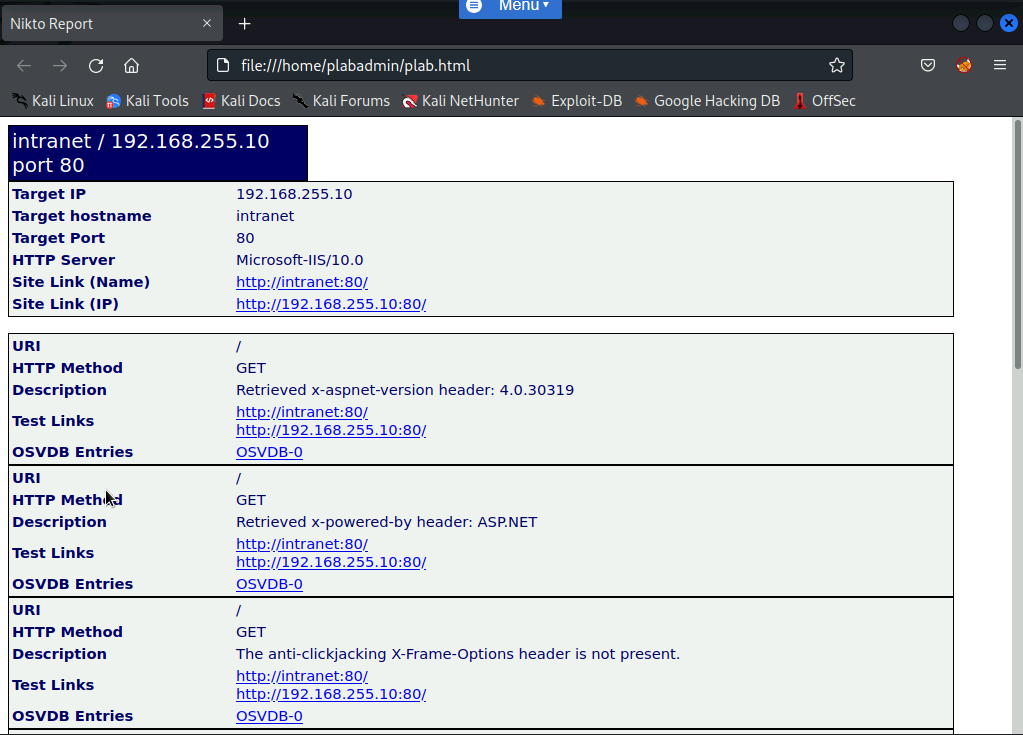
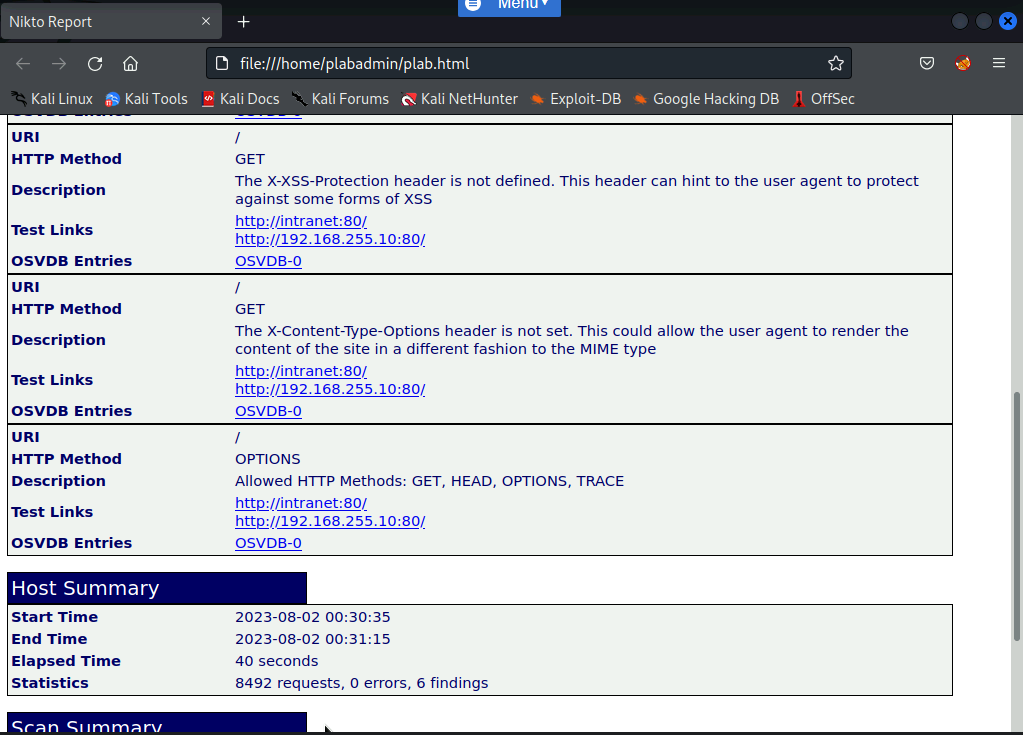
A new Firefox window opens. Notice you can see the list of vulnerabilities on the HTML webpage.
Conclusion
I appreciate you taking the time to read this article. Hopefully, the information presented has been helpful and valuable to you.
If you would like to access more articles, please follow me.
Also, don’t hesitate to leave feedback or suggestions for future topics. Thanks again for your interest and support!
Leave a Reply